Applies to
- Business
- Enterprise
Capabilities
Who can use this capability
System Adminscan set the default color settings and logo branding for everyone in the account.
The itemOwnerandAdminscan apply default colors and logo branding that will appear in new Smartsheet items (sheets, reports, workspaces, and dashboards) that they create.
A license is required. Not sure about what plan type you have or whether you have a license? SeeIdentify Your Smartsheet Plan and User Type.
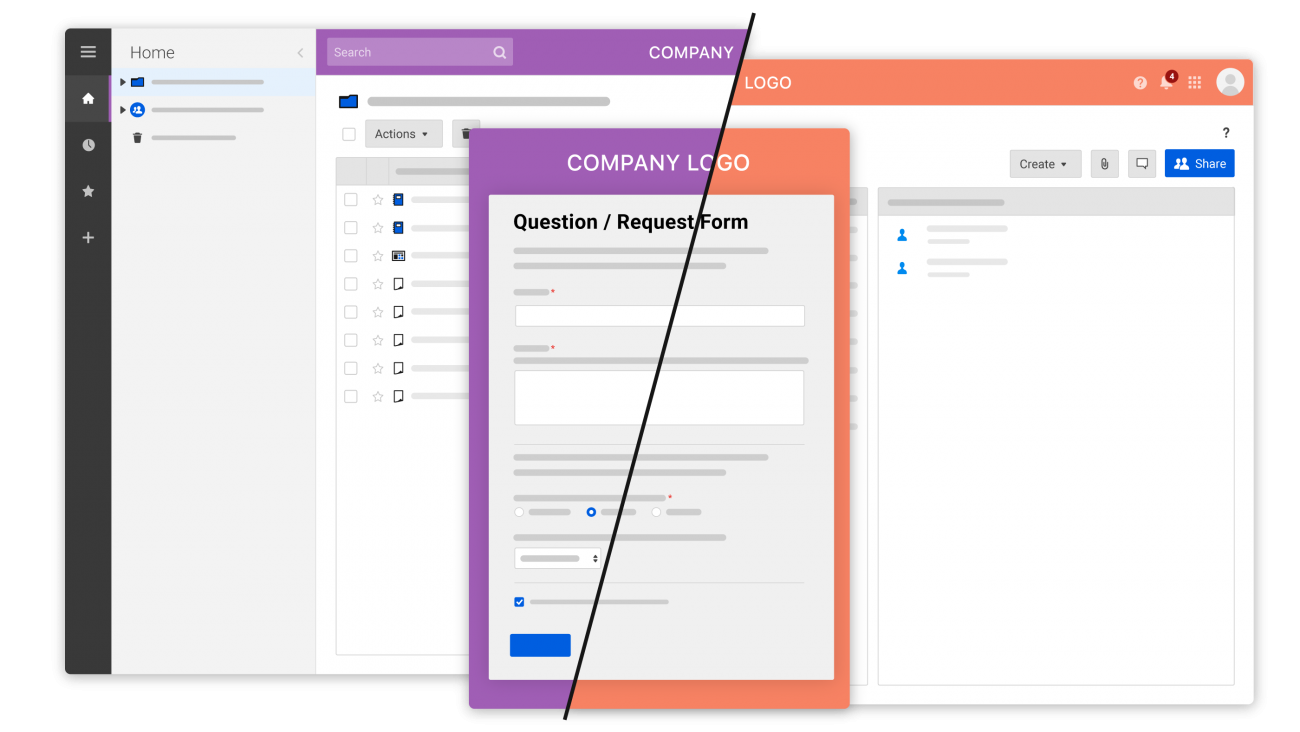
Brand Smartsheet with your colors and logo
Maintain your organization's brand recognition by applying custom colors and uploading your logo to Smartsheet.
The color settings and logo branding that you apply will be displayed in the Smartsheet application, as well as in email messages sent out from Smartsheet.
Changing colors and logo will not retroactively apply to previously existing Smartsheet items or items for which you are not the Owner. SeeGlobal Account Settingsfor information on applying colors and logo for everyone.
 Color and logo changes also apply to any sheet, report, and dashboard that is not in a workspace.
Brand the application for your entire organization
- In the lower-left corner, selectAccount>Admin Center.
- On theBranding & Personalizationtile, select:
- Account Colors
- Account Logo
- Branding Lock: Branding lock prevents users from applying personal branding settings.
- SelectSave.
You can revert to the default Smartsheet settings at any time.
为创建一个标志使用我的最佳实践n Smartsheet, seeCreate a Quality Logo to Brand Your Smartsheet Items.
Brand the application for yourself
- SelectAccountin the lower-left corner and selectPersonal Colors & Logo.
- Choose color settings forBackgroundandTask Bar Color. Or, select a color theme.
- Upload an image file of your custom logo. Keep in mind the supported file types and that your logo may be resized.
- SelectSave.
If your sysadmin has applied strict branding guidelines, you can not use custom colors or branding.
Brand your Workspace
Workspaces inherit org-level branding, not personal branding. Workspaces created after you set custom colors and logo branding inherit the new settings.
Existing workspaces need to be changed individually. If your sysadmin allows, you can brand individual workspaces, overwriting org-level branding.
To brand a specific workspace:
- Right-click on the workspace you want to brand.
- SelectWorkspace Colors & Logo.
- Choose color settings forBackgroundandTask Bar Color. Or, select a color theme.
- Upload an image file of your custom logo. Keep in mind the supported file types and that your logo may be resized.
- SelectSave.
Supported file types
- PNG
- GIF: You can upload animated GIFs but they will not play in the grid. The initial frame is the preview. Animation will play after you double-click the image in the grid.
- JPG: JPGs in the RGB color space are supported (including your camera phone photos). Images in a CMYK color space targeted for print are not supported.